olympus om 1 user manual
Olympus OM-1 User Manual: A Comprehensive Guide
This guide provides detailed instructions for the Olympus OM-1 camera‚ offering PDF manuals in multiple languages‚ including English‚ and support resources for users.
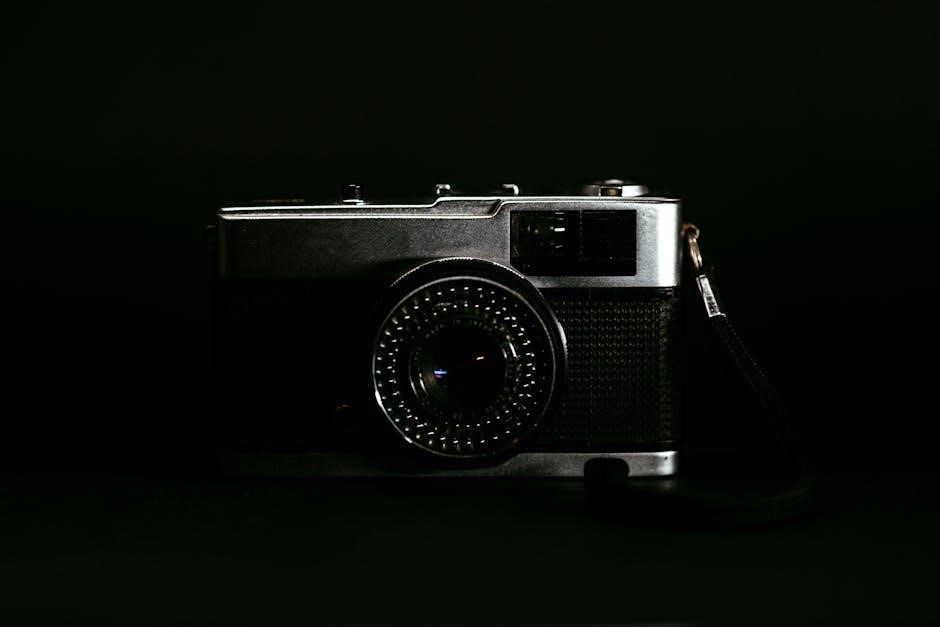
The Olympus OM-1‚ a flagship camera post-Olympus‚ represents a pinnacle of 35mm SLR design‚ celebrated for its compact size and robust build quality. This manual serves as a comprehensive resource for both novice and experienced photographers seeking to master this iconic camera.

Originally released in 1973‚ the OM-1 quickly gained recognition for its exceptional performance and user-friendly operation. This guide details everything from loading film and installing batteries to understanding the viewfinder display and utilizing advanced features.
Available in various languages – including English‚ Japanese‚ Bulgarian‚ and more – the OM-1’s instruction manual ensures accessibility for a global audience. Explore its capabilities and unlock its full potential!
Understanding the OM-1 System
The Olympus OM-1 operates as a fully mechanical camera‚ meaning it functions without reliance on electronic components for core functions like shutter speed and aperture control. This system ensures reliability and longevity‚ even without battery power for basic operation.
However‚ the OM-1 also integrates with a range of compatible lenses‚ enhancing its versatility. Understanding lens compatibility is crucial for maximizing image quality and creative control. The system’s design prioritizes compactness and lightweight construction‚ making it ideal for travel and extended shooting sessions.
Furthermore‚ optional accessories‚ including external flash units‚ expand the OM-1’s capabilities‚ allowing photographers to adapt to diverse shooting scenarios. Explore the interconnectedness of these elements to fully appreciate the OM-1 system.
Key Features and Specifications
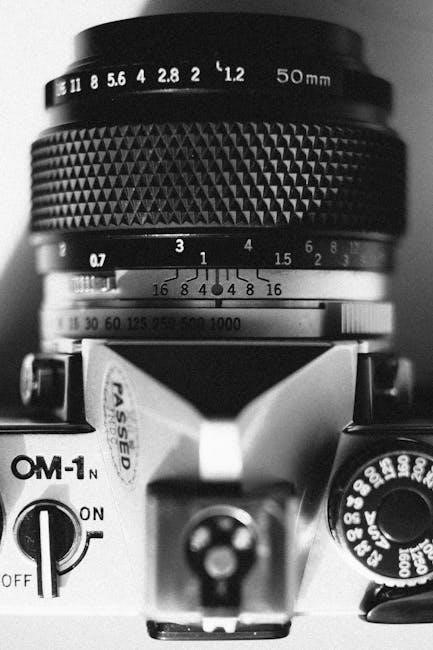
The Olympus OM-1 boasts a fully mechanical shutter‚ offering speeds from 1 to 1000 seconds‚ plus Bulb mode‚ ensuring reliable performance. It accepts 42.7mm screw mount lenses‚ a hallmark of the OM system‚ providing access to a wide range of optics.
The camera features a bright and clear viewfinder with a split-image focusing aid for precise sharpness. Its robust build quality guarantees durability‚ while its compact size enhances portability. The OM-1 utilizes a mechanical self-timer for delayed exposures.

Power comes from a standard PX28 battery‚ primarily for the light meter‚ though full mechanical operation is possible without it. This classic camera delivers a unique shooting experience‚ blending simplicity with exceptional image quality.
Getting Started with Your OM-1
Begin by loading film correctly and installing a PX28 battery for metering. Familiarize yourself with the viewfinder display to understand camera settings quickly.
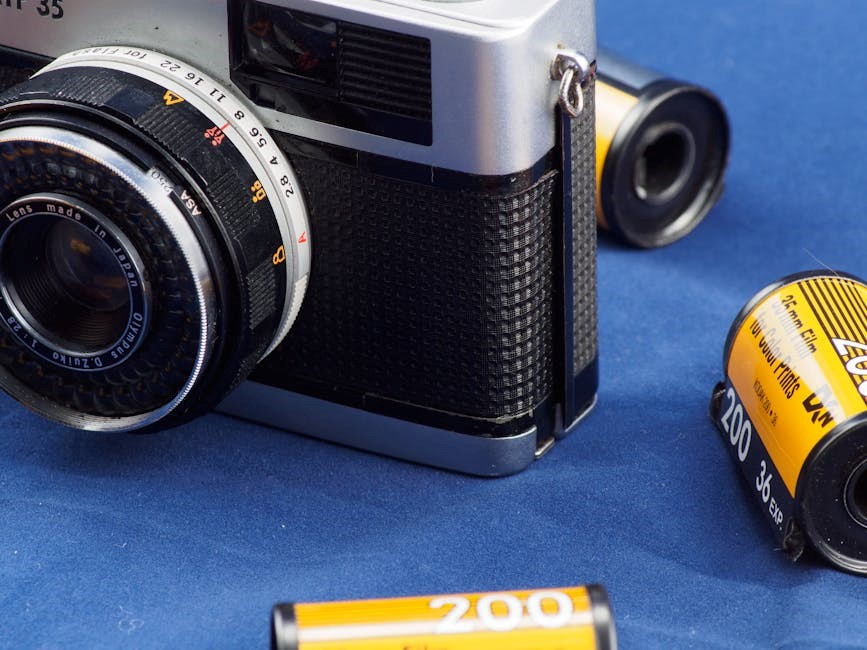
Loading Film into the OM-1
To load film‚ first open the camera back using the film release lever. Insert the film cassette into the film chamber‚ ensuring it seats correctly. Pull the film leader across the camera and attach it to the take-up spool.
Advance the film using the film advance lever‚ checking that the film is properly engaging with the spool. Close the camera back securely. The OM-1 automatically resets the frame counter to ‘S’ upon closing. Advance the film a couple of times and observe the frame counter changing to ‘1’ before beginning to shoot. Always ensure the camera back is fully closed to prevent light leaks and ensure proper film transport.
Battery Installation and Operation
The Olympus OM-1 utilizes button-cell batteries to power its light meter. Open the battery compartment located on the camera’s bottom. Install the correct type of battery (typically an SR44 or similar)‚ observing the correct polarity as indicated inside the compartment.
Ensure the battery is securely seated. The OM-1’s meter will activate when the shutter button is half-pressed. A battery check mark appears in the viewfinder when sufficient power is available. Replace the battery when the checkmark disappears or flickers‚ indicating low power. Proper battery installation ensures accurate exposure readings for optimal photographic results.
Understanding the Viewfinder Display
The OM-1’s viewfinder provides crucial information for accurate exposure and focusing. You’ll see a central focusing spot to aid in achieving sharpness. Brightness indicators‚ displayed as plus (+) and minus (-) signs‚ show over or underexposure based on the meter’s reading. A center-weighted averaging metering system provides this guidance.
A checkmark confirms sufficient battery power for the meter. Additionally‚ the viewfinder displays the selected shutter speed. Familiarizing yourself with these elements allows for precise control over your images‚ ensuring properly exposed and sharply focused photographs with this classic camera.

Camera Controls and Settings
Explore the OM-1’s controls‚ including aperture and shutter speed adjustments‚ focusing mechanisms‚ and versatile exposure modes – auto and manual – for creative control.
Aperture and Shutter Speed Control
The Olympus OM-1 offers precise control over both aperture and shutter speed‚ fundamental for achieving desired exposure and creative effects. Aperture‚ adjusted via the lens’s aperture ring‚ dictates the lens opening size‚ influencing depth of field – a shallow depth isolates subjects‚ while a larger one keeps everything sharp.
Shutter speed‚ controlled by the camera’s shutter speed dial‚ determines how long the sensor is exposed to light; Faster speeds freeze motion‚ ideal for sports or action‚ while slower speeds allow more light in‚ useful in low-light conditions but potentially causing motion blur. Mastering the interplay between these two settings is crucial for photographic success with the OM-1.
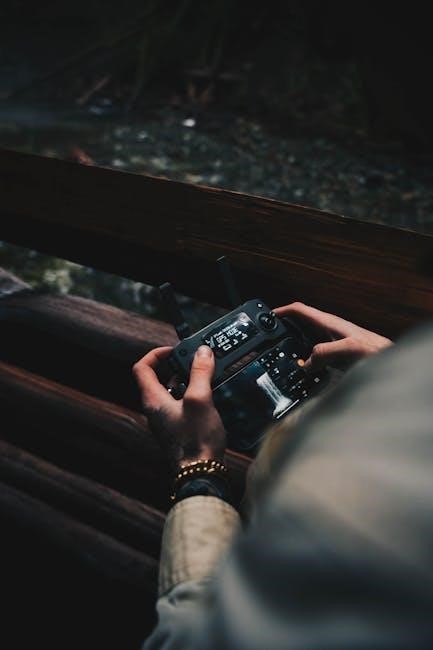
Focusing Mechanisms
The Olympus OM-1 primarily employs a manual focus system‚ relying on the photographer’s skill and precision. Focusing is achieved by rotating the focusing ring on the lens barrel until the subject appears sharp in the viewfinder. Split-image and microprism collar focusing aids within the viewfinder assist in achieving critical focus‚ particularly with smaller apertures.
These aids become more prominent as focus nears accuracy‚ guiding the user to pinpoint sharpness. Careful observation and practice are key to mastering manual focusing with the OM-1. Remember to consider depth of field; precise focus is vital when using wide apertures for shallow depth-of-field effects.
Exposure Modes: Auto and Manual
The Olympus OM-1 offers both aperture-priority automatic exposure and full manual control. In aperture-priority mode‚ the photographer sets the desired aperture‚ and the camera automatically selects the appropriate shutter speed for correct exposure‚ indicated in the viewfinder. This is ideal for controlling depth of field.
Manual mode grants complete control over both aperture and shutter speed‚ allowing for creative exposure decisions and overcoming challenging lighting situations. The viewfinder’s metering system provides guidance‚ but the final exposure setting rests with the photographer. Mastering both modes unlocks the OM-1’s full potential.

Advanced Features and Techniques
Explore the OM-1’s capabilities with techniques like utilizing the self-timer‚ mastering depth of field‚ and understanding the camera’s versatile metering modes.
Using the Self-Timer
The Olympus OM-1 features a convenient self-timer function‚ ideal for solo portraits or situations requiring delayed shutter release. To activate‚ locate the self-timer lever‚ typically positioned near the shutter button.
First‚ set the desired delay – usually two options are available‚ offering approximately 2 or 10 seconds. Engage the lever by moving it to the ‘S’ or self-timer position.
Press the shutter button; the mirror will lock up‚ initiating the countdown. A small indicator light will illuminate‚ signaling the timer is active. After the selected delay‚ the shutter will release automatically. Remember to disengage the self-timer lever after use to return to normal operation. This feature is perfect for group shots where you want to be included!
Depth of Field Control
Depth of field‚ the area appearing sharp in your image‚ is crucial for creative control with the Olympus OM-1. It’s governed by aperture‚ focal length‚ and subject distance.
A wider aperture (smaller f-number like f/2.8) creates a shallow depth of field‚ blurring the background – ideal for portraits. Conversely‚ a narrower aperture (larger f-number like f/16) yields a greater depth of field‚ keeping more of the scene in focus‚ perfect for landscapes.
Experiment with different aperture settings to achieve your desired effect. Longer focal lengths also reduce depth of field‚ while closer subject distances do the same. Mastering depth of field allows you to emphasize your subject and create visually compelling images.
Metering Modes Explained
The Olympus OM-1 offers versatile metering modes to ensure accurate exposure. Center-weighted average metering prioritizes the center of the frame‚ suitable for general scenes. It measures light across the entire frame but gives more weight to the central area.
Spot metering measures light from a very small area‚ ideal for challenging lighting situations or when you need precise exposure on a specific subject. Use this when the background is much brighter or darker than your subject.
Understanding these modes allows you to adapt to various shooting conditions and achieve consistently well-exposed photographs with your OM-1.
Troubleshooting and Maintenance
This section details common OM-1 issues‚ cleaning procedures‚ and error code explanations‚ ensuring optimal camera performance and longevity for continued use.
Common Issues and Solutions
Encountering problems with your Olympus OM-1? Several common issues have readily available solutions. If the film isn’t advancing‚ check the battery and ensure proper film loading. A dim viewfinder might indicate low battery power or incorrect exposure settings. Light leaks often stem from a faulty door seal or damaged light seals within the camera body – these may require professional repair.
For shutter speed inconsistencies‚ a CLA (Clean‚ Lube‚ and Adjust) service is often recommended. If the camera fails to respond‚ try a fresh set of batteries. Remember to consult the full OM-1 manual (PDF available online) for detailed troubleshooting steps and diagrams. Online forums also offer valuable community support and shared experiences.
Cleaning and Storage
Proper cleaning and storage are crucial for maintaining your Olympus OM-1’s longevity. Gently remove dust from the body and lens with a soft‚ dry cloth. Avoid using liquids or abrasive cleaners. Regularly check the film chamber for debris. For the viewfinder‚ use a blower to dislodge dust particles – never touch the glass directly.
When storing your OM-1‚ remove the batteries to prevent corrosion. Keep it in a cool‚ dry place‚ ideally in a camera bag or case. Protect it from extreme temperatures and humidity. Long-term storage benefits from including a desiccant packet to absorb moisture‚ ensuring optimal condition for future use.
OM-1 Error Codes and Meanings
While the Olympus OM-1 is a mechanical marvel‚ occasional issues may arise. Unfortunately‚ detailed error codes as found in digital cameras aren’t present. However‚ common problems manifest as functional failures. A non-advancing film lever often indicates film loading issues or a shutter mechanism fault.
If the shutter doesn’t fire‚ check the battery (if applicable for light metering) and ensure correct aperture/shutter speed settings. A stuck mirror could signify mechanical damage. If experiencing consistent problems‚ professional servicing is recommended. Remember‚ the OM-1 relies on precise mechanical operation; avoid forceful attempts at repair.

Accessories and Compatibility
The OM-1 system supports numerous compatible lenses and optional accessories‚ including external flash units‚ enhancing photographic capabilities and creative control for users.
Compatible Lenses
The Olympus OM-1 boasts exceptional compatibility with the extensive range of Olympus OM-system lenses‚ renowned for their optical quality and compact design. This includes both Zuiko Auto Lenses – the original lenses designed for the OM system – and later Zuiko Multi-Coated lenses‚ offering improved flare resistance and contrast.
Adapters also allow for the use of older Olympus lenses‚ expanding creative possibilities. However‚ it’s important to note that some lenses may have limitations when used with the OM-1‚ particularly regarding full functionality of certain features. Careful consideration of lens characteristics is recommended to maximize performance and achieve desired photographic results. The OM-1 cannot be used with lenses that do not have the correct mount.
Optional Accessories
Enhance your Olympus OM-1 experience with a variety of optional accessories designed to expand its capabilities. External flash units‚ compatible through hot shoe connection‚ provide additional lighting control for diverse shooting scenarios. Dedicated Olympus flash units offer TTL automation for precise exposure.
Other useful accessories include lens filters for creative effects and protection‚ a camera strap for comfortable carrying‚ and a dedicated case for safe storage. While not essential‚ these additions can significantly improve usability and unlock new photographic potential. Explore the OM system ecosystem for a complete range of compatible enhancements.
Using External Flash Units
The Olympus OM-1 supports external flash units connected via the hot shoe‚ offering expanded lighting options. Ensure the flash unit is compatible and securely mounted. For automated exposure‚ utilize TTL (Through-The-Lens) flash modes with dedicated Olympus units. Manual flash control allows precise power adjustments for creative effects.
Sync speed is crucial; exceeding it can result in dark bands across images. Refer to your flash unit’s manual for specific settings and compatibility information. Proper flash exposure requires understanding guide numbers and aperture/distance relationships. Experiment with bouncing flash for softer lighting and diffusers for even illumination.

Resources and Support
Download the full OM-1 manual (PDF)‚ access Olympus/OM System support‚ and connect with online communities and forums for assistance.
Downloading the Full OM-1 Manual (PDF)
Access a comprehensive PDF version of the Olympus OM-1 user manual‚ available in numerous languages including English‚ Japanese‚ Bulgarian‚ Simplified and Traditional Chinese‚ Czech‚ Danish‚ German‚ Greek‚ and Spanish.
OM SYSTEM provides readily downloadable instruction manuals directly from their website. These PDF documents offer detailed guidance on all aspects of camera operation‚ from basic setup to advanced features.
Users can easily find and download the manual suited to their language preference‚ ensuring a clear understanding of the OM-1’s capabilities. The PDF format allows for convenient offline access and easy searching of specific topics. Ensure your browser is set to English for the correct language version.
Olympus/OM System Support Contact Information
For direct assistance with your Olympus OM-1‚ OM SYSTEM provides dedicated support channels. While specific contact details aren’t explicitly listed in the provided snippets‚ users are directed to “Contact Olympus Support” through the OM SYSTEM website.
This likely involves a support request form or access to a knowledge base with frequently asked questions and troubleshooting guides. Users experiencing issues with their camera can utilize these resources to find solutions or submit inquiries.
Remember to clearly describe your problem and include your camera model (OM-1) when contacting support for efficient assistance. Explore the OM SYSTEM website for the most up-to-date contact information and support options.
Online Communities and Forums
Beyond official support‚ a wealth of knowledge exists within online communities dedicated to the Olympus OM-1 and the broader OM System. These forums offer a platform for users to connect‚ share experiences‚ and troubleshoot issues collaboratively.
Enthusiasts frequently discuss techniques‚ lens compatibility‚ and offer advice on maximizing the camera’s capabilities. Searching online for “Olympus OM-1 forum” or “OM System community” will reveal numerous active groups.
These communities are invaluable resources for both beginners and experienced photographers‚ providing a space to learn‚ ask questions‚ and deepen your understanding of this classic camera system.